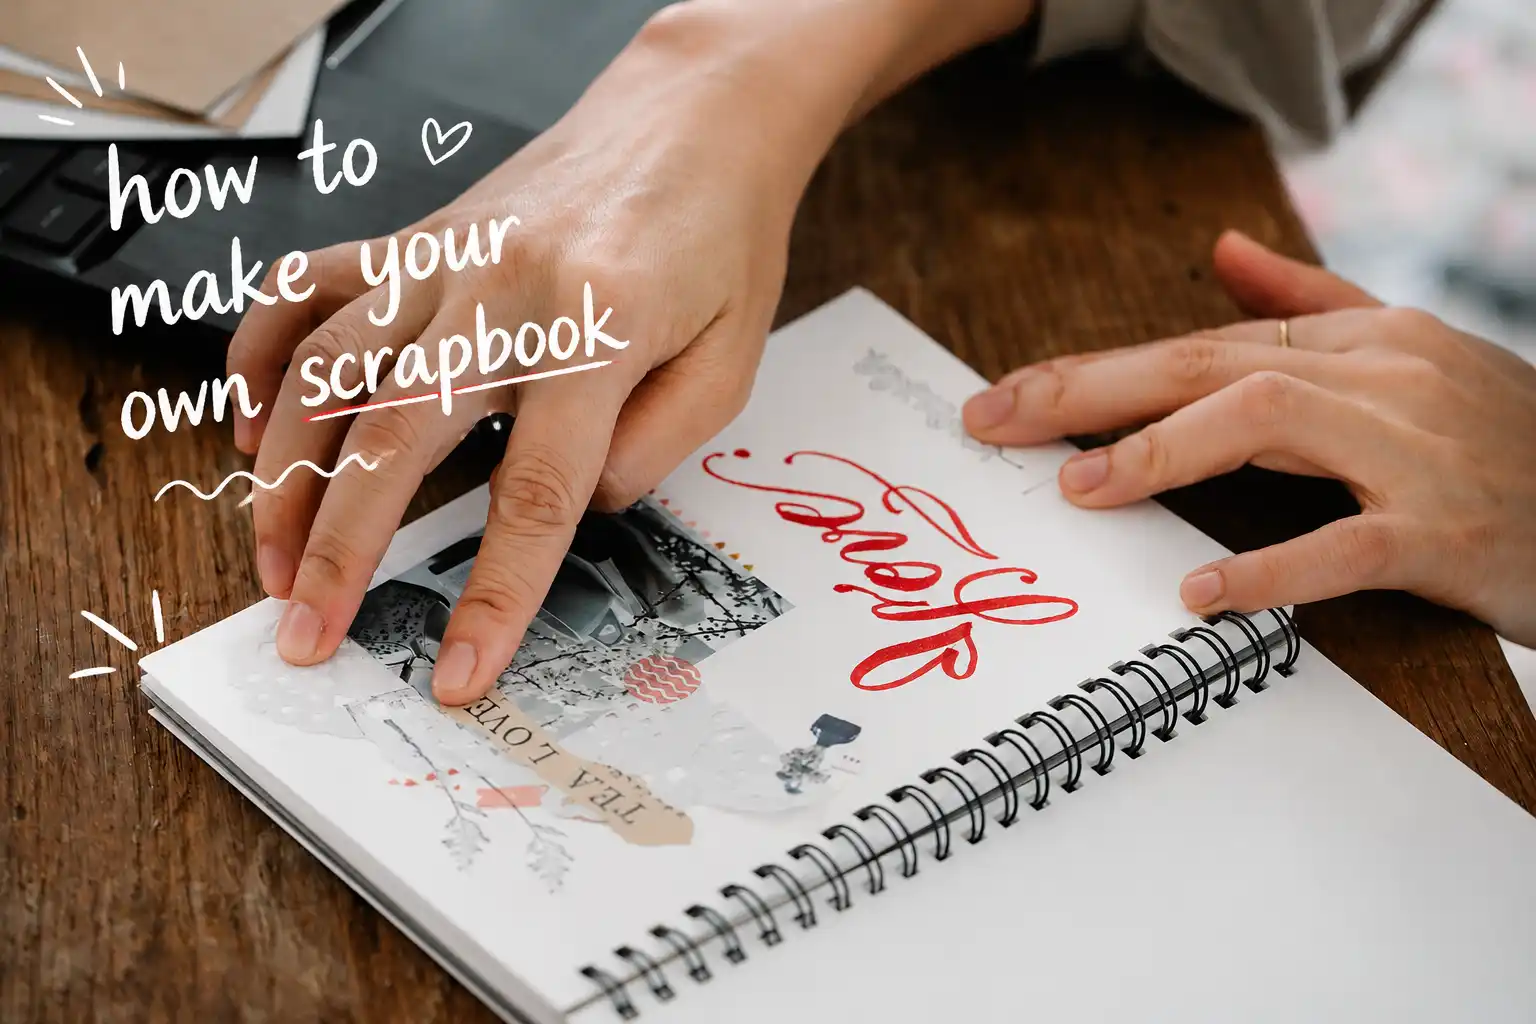
There is something about flipping through a scrapbook that just hits different. You stop at a page, see a ticket stub or a little note you wrote and suddenly you are right back there.
Photos on your phone are great but honestly how often do you actually go back and look at them? Mine just pile up in a camera roll I never open. A travel scrapbook gives those memories somewhere to actually live.
The best part is you do not need to be crafty or have any special supplies to make one that looks good.
Most of my pages are just printed photos, a few stickers, maps, and whatever little things I collected on the trip. A museum ticket, a napkin with an address written on it, a dried flower from somewhere I loved.
I am going to walk you through exactly how I do mine, from printing the photos to putting the pages together. Nothing complicated, I promise.
How to Create Your Own Travel Scrapbook
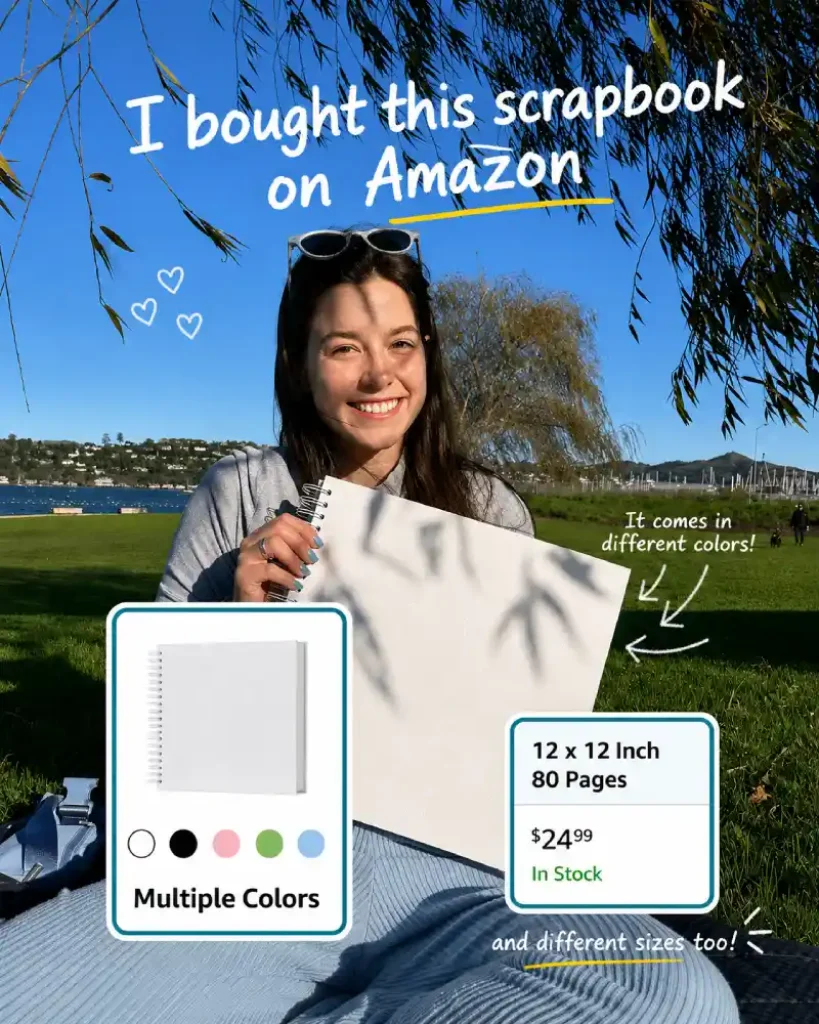
Step 1: Choose a Scrapbook You Love
Before anything else, pick a scrapbook that makes you excited to use it.
I went with a simple spiral-bound scrapbook because it’s easy to flip through and gives me plenty of room to decorate.
Tip: Don’t stress about finding the perfect scrapbook. The memories inside are what matter most.
Step 2: Print Your Favorite Photos
Now comes the fun part.
Go through your camera roll and choose the photos that instantly bring back memories.
I like mixing:
- Scenic shots
- Food photos
- Selfies
- Funny random moments
- Photos that probably mean nothing to anyone else but me 😂
The goal isn’t to print the best photos. It’s to print the ones that make you smile.
Step 3: Create Photo Layouts in Canva
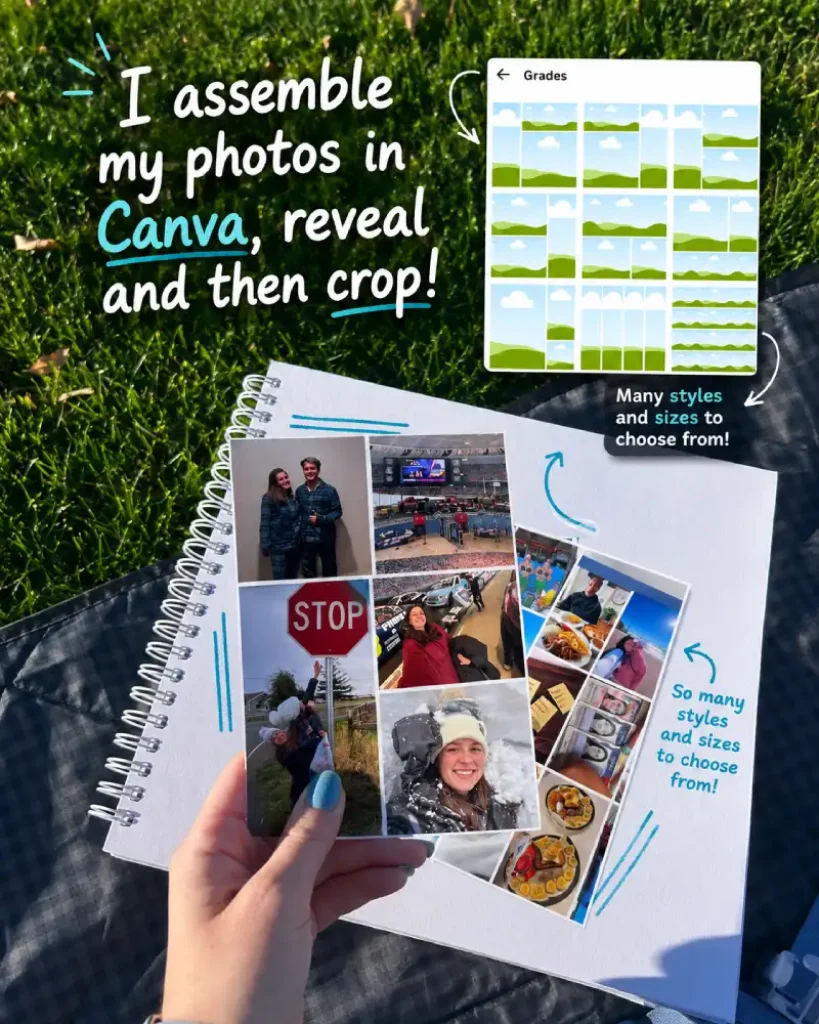
This is probably the step that makes the biggest difference in my scrapbook.
Instead of printing every photo separately, I upload my favorite pictures into Canva and create simple collages using their grid layouts. It helps me fit more memories onto each page while keeping everything organized and visually interesting.
I usually mix different photo sizes together. A large photo can highlight a special moment, while smaller photos help capture all those little details that make a trip memorable. Sometimes I’ll include food photos, scenery, selfies, and random snapshots all in the same collage because together they tell a much better story than a single image ever could.
Using Canva also helps me save both space and money. Rather than filling an entire page with just one or two photos, I can fit several moments onto a single print while still keeping everything easy to see.
One thing I’ve learned is that perfect layouts are overrated. Some of my favorite scrapbook pages are the ones where I mixed random photos together and ended up creating a collage that instantly brings me back to that day.
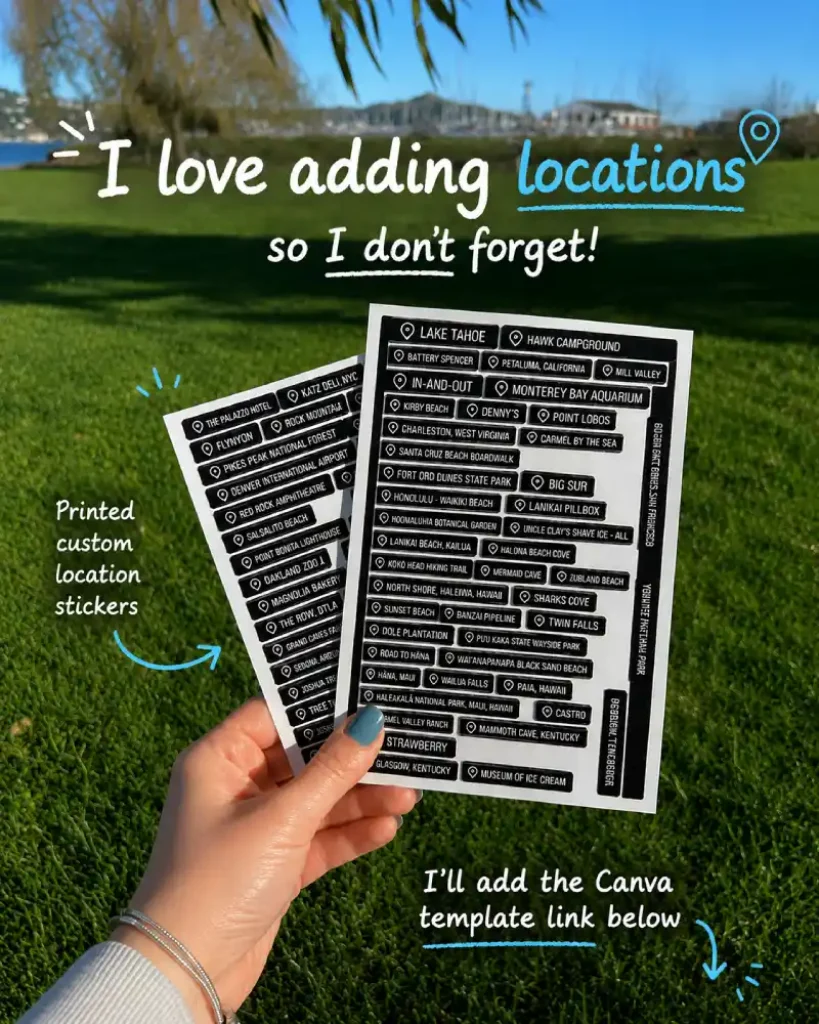
Step 4: Make Custom Location Stickers
One of my favorite scrapbook tricks is adding custom location labels.
I create little stickers with:
- Cities
- Beaches
- Parks
- Attractions
- Restaurants
A year later, you’ll be surprised how many places you’d completely forget without them.
Step 5: Save Tickets, Maps, and Random Keepsakes

This is where the scrapbook starts feeling special.
Keep things like:
- Attraction tickets
- Boarding passes
- Maps
- Receipts
- Event wristbands
- Postcards
I once kept a coffee shop receipt because it was from my favorite morning of the entire trip. No regrets. ☕😂
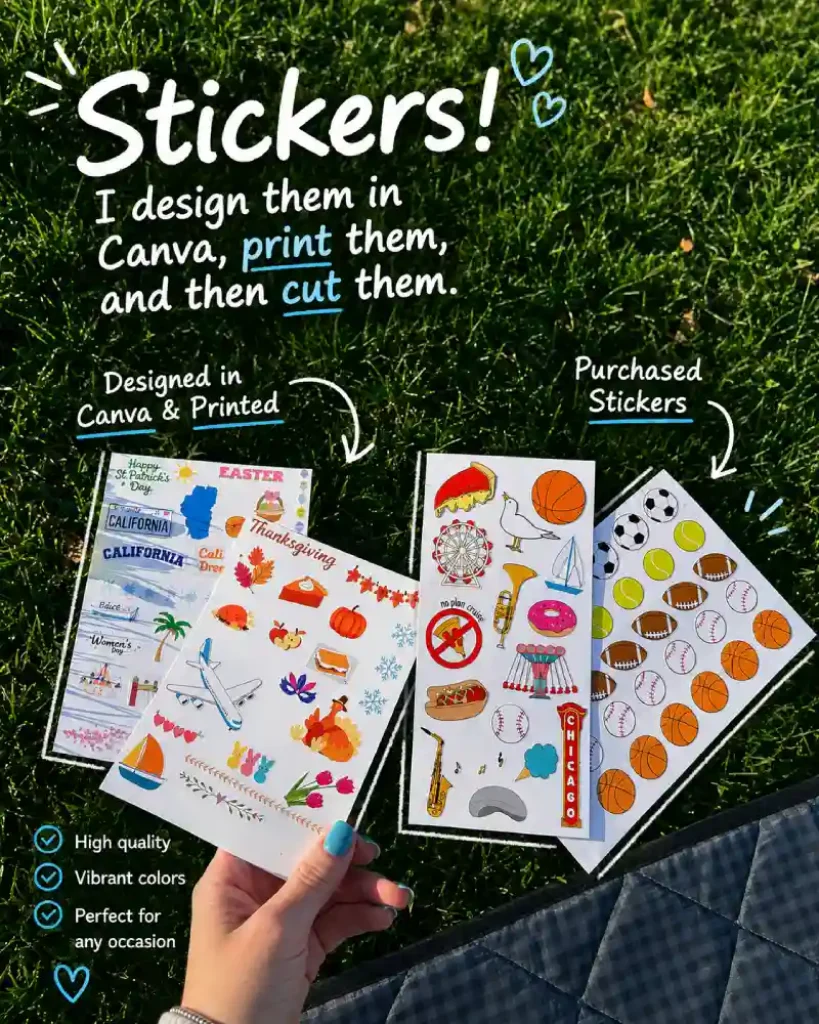
Step 6: Add Stickers and Decorations
Now it’s time to make everything look cute.
I use:
- Printable stickers
- Canva stickers
- Travel-themed stickers
- Seasonal stickers
This is also the point where I completely lose track of time.
“I’ll decorate for five minutes” somehow turns into an hour.
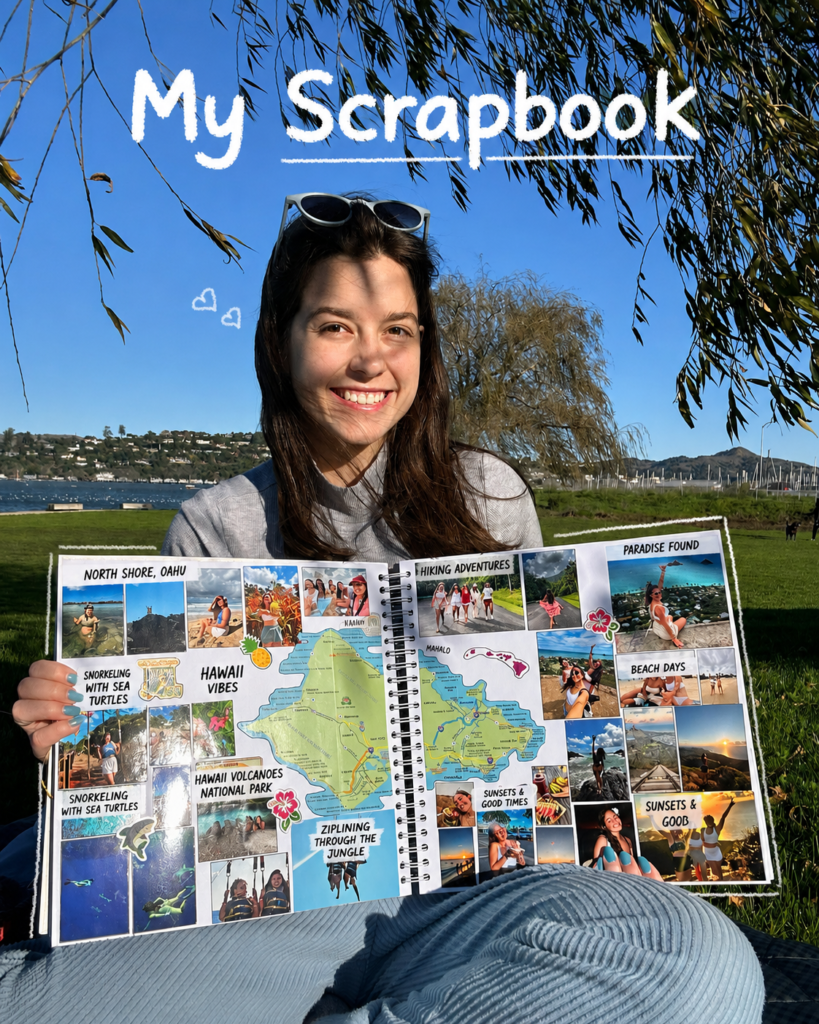
Step 7: Start Building Your Pages
Lay everything out before gluing anything down.
I usually place:
- Photos first
- Location stickers
- Tickets and souvenirs
- Decorative elements
Don’t worry about making it perfect.
Some of my favorite pages look like I made them at 2 AM, because honestly… I probably did.
Step 8: Tell the Story
The final step is putting everything together into pages that remind you exactly how the trip felt.
Add:
- Little notes
- Dates
- Funny memories
- Inside jokes
- Favorite moments
Years from now, these tiny details will mean more than the photos themselves.
Final Thoughts
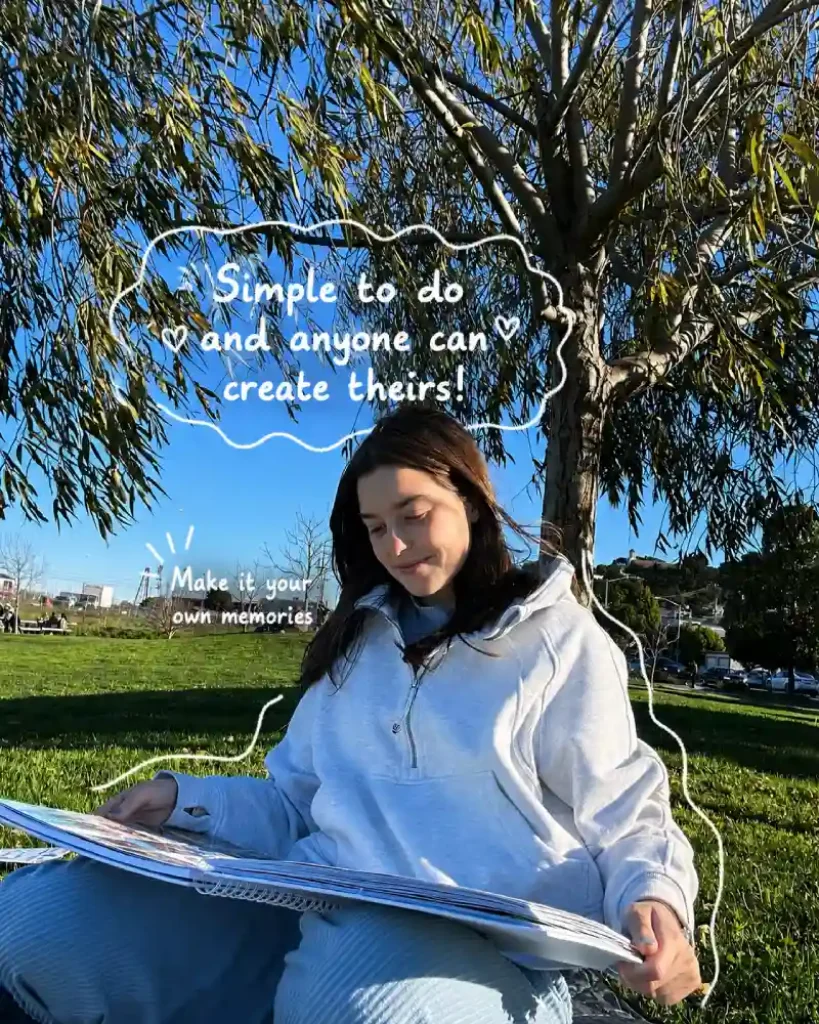
The secret to a great scrapbook isn’t perfect handwriting, expensive supplies, or artistic talent.
It’s filling it with things that make you remember the moment.
Start with a few photos, add some stickers, save those random little souvenirs, and have fun with it.
That’s really all there is to it.